A Step By Step Guide On Artificial Cricket Pitch Installation
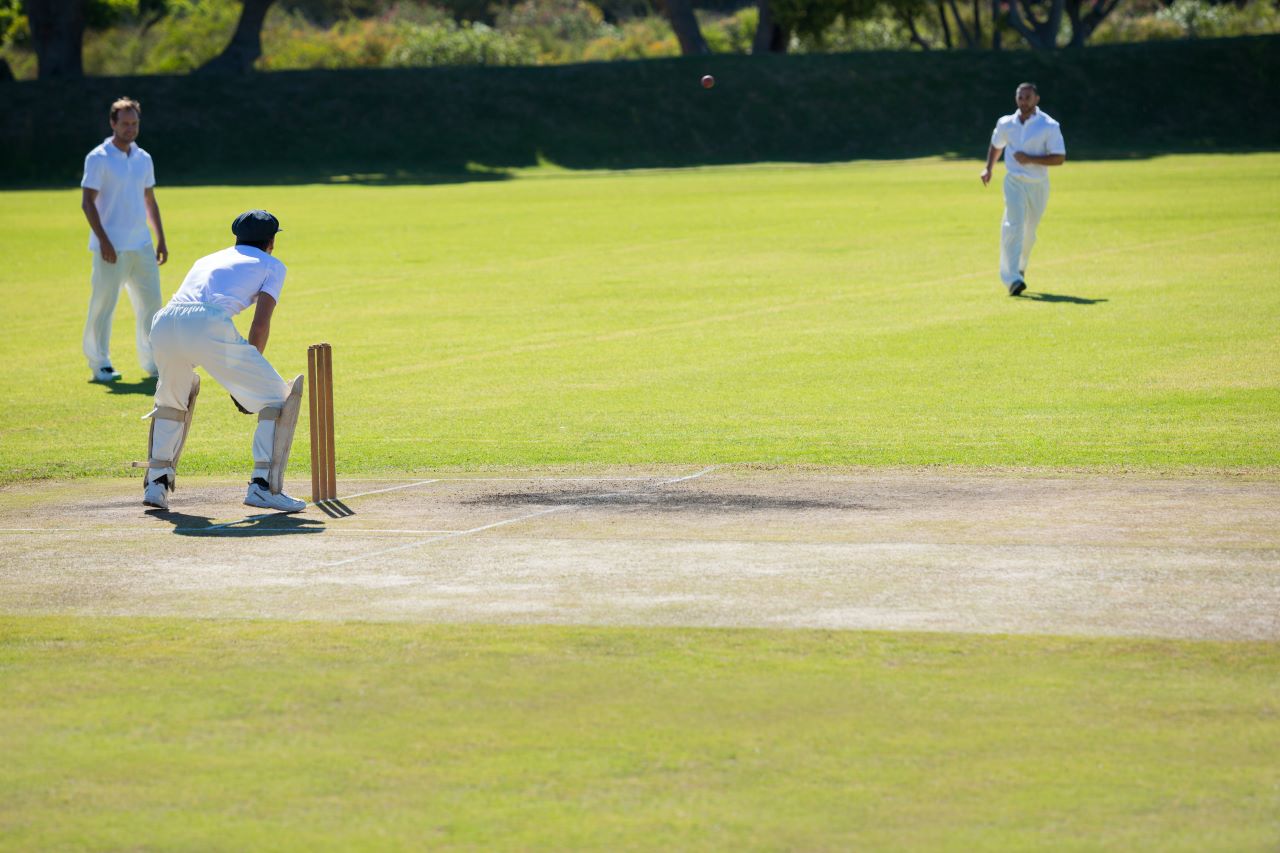
In the world of cricket, artificial cricket pitches have quickly replaced natural grass, thereby changing the way we play this sport. In regions where natural grass struggles to survive, artificial grass cricket pitch stands as a true winner.
Unlike natural turf, artificial cricket pitches offer consistent playing conditions and year-round usability, making it a preferred choice for clubs and schools.
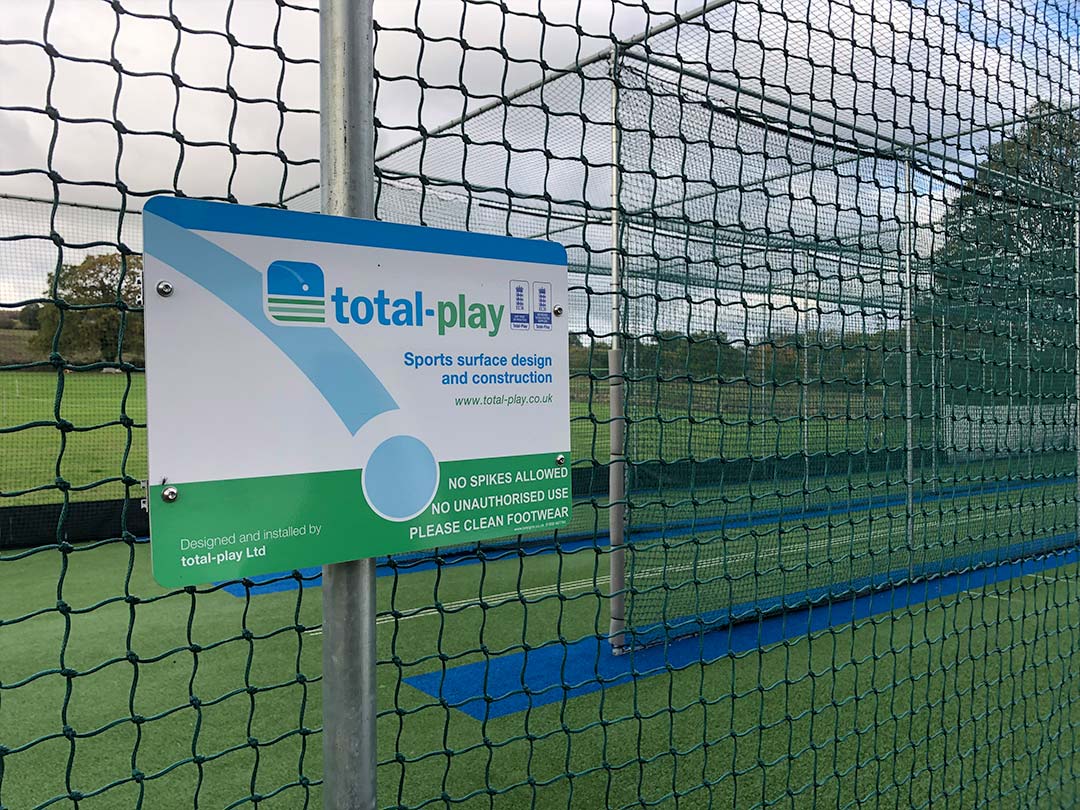
At total-play, we want to share our expertise so you can make informed decisions about your club’s playing surfaces. Keeping that in mind, we aim to help you understand how the artificial cricket pitch installation process takes place.
From the artificial cricket pitch construction to installation and maintenance, we will explore all these facets. After all, when it comes to remarkable durability and minimal maintenance, artificial cricket pitches are the ultimate winner.
Are you ready to explore this guide that will take you through every aspect of the process, making sure your pitch is ready for action?
Let’s begin!
Steps For Artificial Cricket Pitch Construction
Step 1: Planning and Preparation
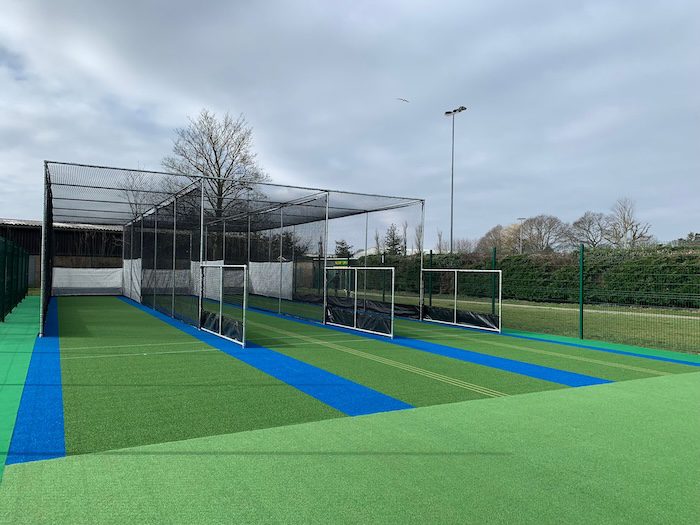
Any cricketing facility’s future requires a substantial investment in the installation of an artificial cricket pitch. An artificial grass cricket pitch grass is far more resilient than a natural grass turf, requiring less watering and offering a consistent playing field all year round.
- Assessing Needs and Budgeting
Prioritise your work by determining the exact requirements of your cricket facility. This includes taking into account your budget, the quality of play and how often the pitch will be used.
These variables can directly impact the kind of artificial cricket pitch construction you consider investing in as well as the amount of preparation needed.
- Selecting the Right Surface
Artificial cricket pitches come in a variety of forms, each with unique benefits and appropriateness for varying skill levels. Whether you wish to choose from woven carpets or tufted ones, the choice is yours.
Moreover, you can opt for these surfaces with shock padding too. Based on your selection of the surface, the performance and longevity will vary.
- Selecting and Preparing Your Site
Start by picking an area that is flat with enough drainage. Before the artificial cricket pitch construction and installation, the site might need to be levelled and dug up for an even surface.
In order to build a sturdy base, removing any existing lawn or debris is sometimes necessary. This can include the top layer of the soil too.
Step 2: Base Construction
- Sub-base Installation
In addition to providing an appropriate foundation for an artificial grass cricket pitch, a good sub-base is essential for drainage. For levelling, usually a layer of compacted stone is applied first, and then a coating of fine aggregate.
- Drainage System
It’s imperative to have a functional drainage system to stop water accumulation on the field. It is best to lay out and cover drainage pipes with gravel prior to installing the sub-base.
- Shock Pad Installation
Although this step is optional you might want to consider it. To enhance player comfort and extend the life of the pitch, a shock cushion can be placed in between the sub-base and artificial turf. This layer can lessen player injuries by absorbing the impact of your artificial cricket pitches.
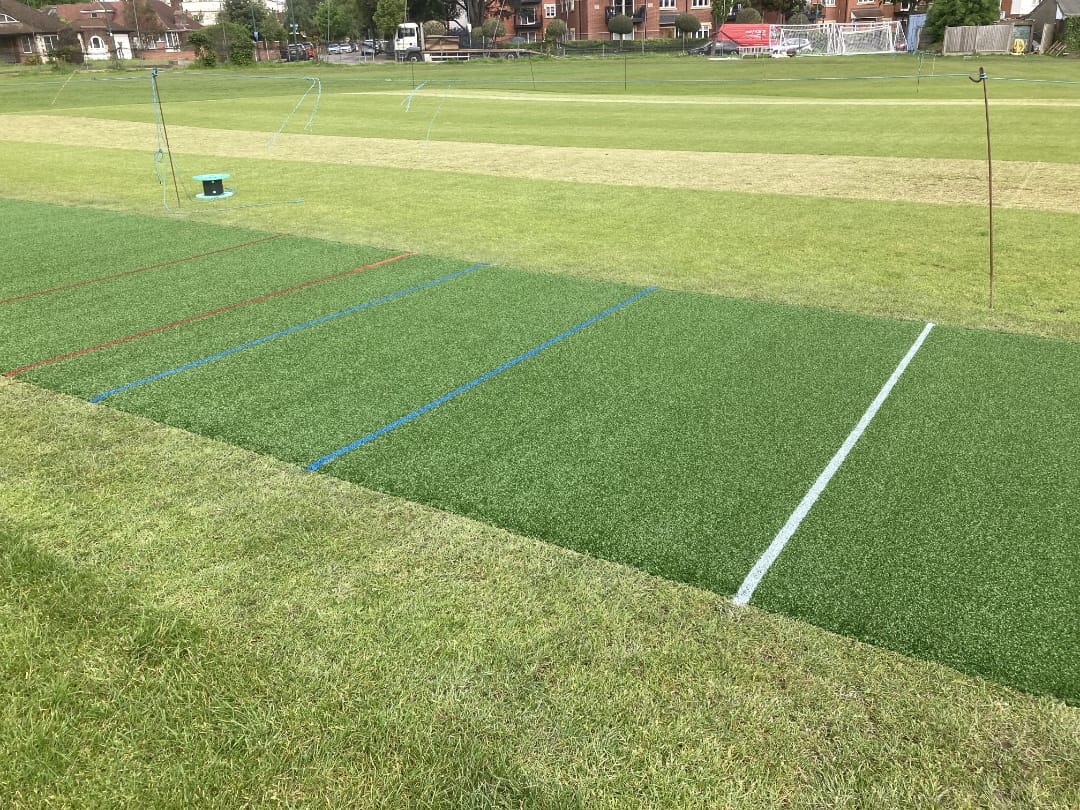
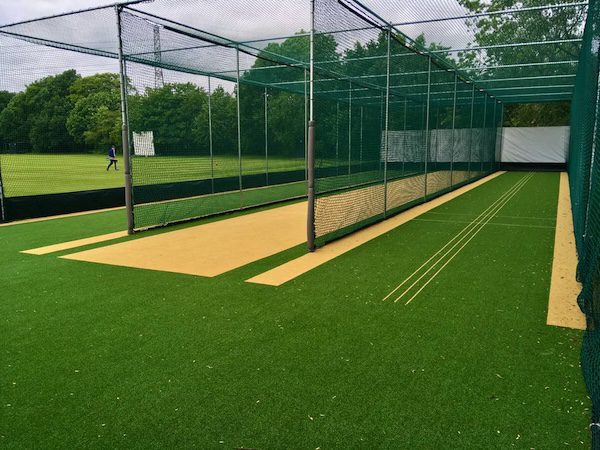
Step 3: Laying the Artificial Turf
- Rolling Out the Turf
Make sure the artificial grass is wrinkle-free and smooth by carefully rolling it out over the prepared base. In order to prevent problems with ball roll and pitch aesthetics, alignment must be maintained.
- Seaming and Joining
To avoid trip hazards and provide a consistent playing surface, if your pitch calls for more than one roll of grass, the seams must be correctly linked. For this, specialised tapes and adhesives are employed.
Step 4: Maintenance and Care
- Regular Cleaning
Clear leaves and debris from the surface to keep it tidy. For this, a leaf blower or light brushing will do.
- Surface Inspection
Frequently check the pitch for wear and damage, especially around edges and seams. Timely fixes will save small problems from growing into bigger ones.
Contact total-play For High-Quality Artificial Cricket Pitch Installation!
Are you ready to switch to the unparalleled performance of artificial cricket pitches? Choose total-play’s services for artificial cricket pitch construction and installation that are here to revolutionise the cricketing landscape.
At total-play, we are always inspired to offer products that are better than what’s available in the current market and this commitment results in trusted and exceptional products. We offer best-in-class solutions to our clients, making us the preferred choice for clubs and venues worldwide.
Contact us to set the stage for unforgettable cricketing moments and equip your club with world-class products and services.
Back to news